
Five Deadly Days: Roadtrip builds with item cores, backpack layouts and boss plans: crit eye, Tesla chain, burn zone, crossbow trigger and vampire melee.
Deadly Days Roadtrip Best Builds: Five Runs That Clear
A build in Deadly Days: Roadtrip is a weapon, the items that touch it, and the shape those items make in the grid. The five builds below are not the only viable ones, but each has a clear engine, a clear weakness, and a reason to exist. They are ordered by how easy they are to assemble, not by peak power.
Official source: Deadly Days: Roadtrip store page
More sources: Pixelsplit — Deadly Days: Roadtrip and Steam news hub.
Before the builds: the universal core
Every build wants three things:
- A damage source that scales. Either a fast weapon with on-hit effects, or a percentage-damage effect such as fire.
- A multiplier ring. Two to four items touching the weapon, each adding damage, crit, rate of fire, or trigger frequency.
- One escape. Dash distance, Ghost Sheet, Teleporter, or knockback. A build with no escape is a build that dies to a surround.
If a "build" below lacks one of these, it is because a character item covers it. Do not skip the escape because the damage looks good in the first biome.
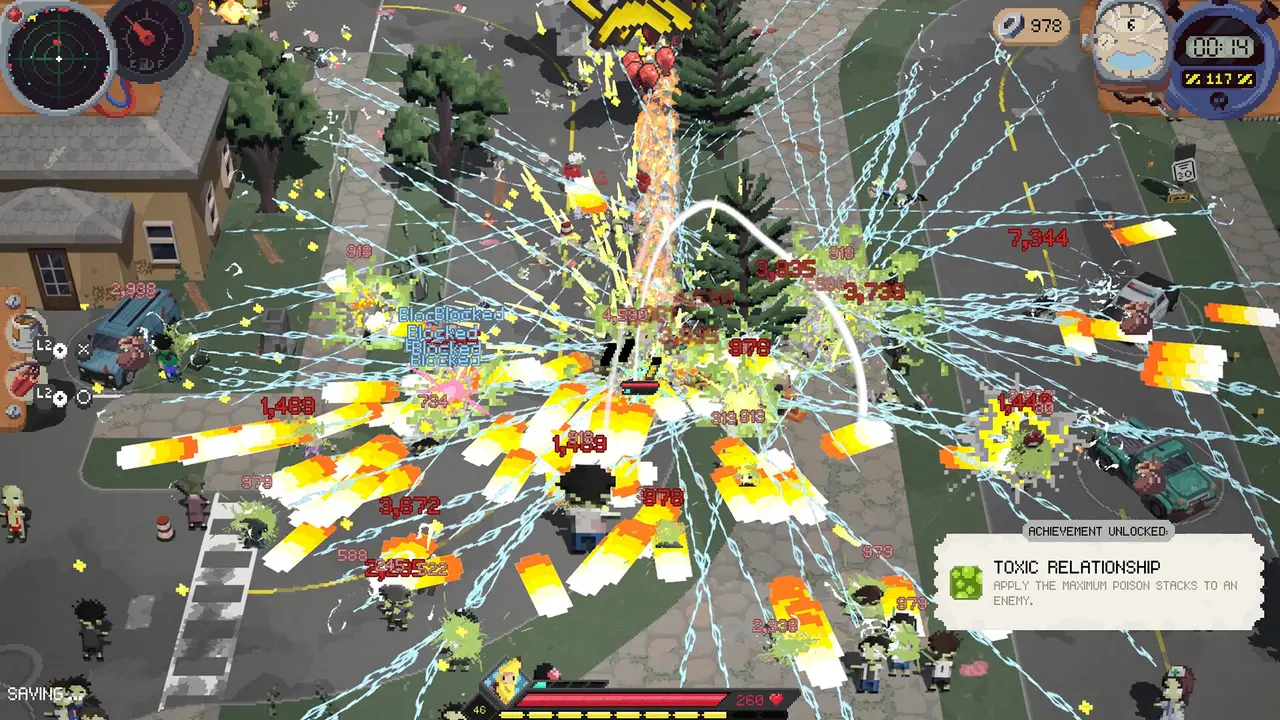
1. Crit Eye — the boss deleter
Core: Ripped-Out Eye, a fast weapon (Tommy Gun, LMG, or Uzi), crit chance, and a range fix.
The Ripped-Out Eye gives marked weapons +100% crit chance at the cost of 75% range. On a fast weapon, that is a damage multiplier that also pushes you into the higher crit tiers added in 1.0. The range penalty is real: you must fight close, so pair it with a dash or Ghost Sheet.
Layout: Weapon in the centre, Eye adjacent, one crit item and one rate-of-fire item on the other sides. Keep the ring tight; the Eye's penalty means you cannot afford to miss.
Weakness: Ranged enemies and open biomes. The Coast and the Mountains punish the short range. In those maps, switch the carry weapon to a shotgun or accept that you will take chip damage.
2. Tesla Chain — the crowd cleaner
Core: Tesla Coil, an even number of marked electric items, and a Cogwheel.
Tesla Coil fires a projectile every three seconds and electrocutes. Marked lightning items gain extra bounces only when the number of marked electric items is even, which is the strangest build constraint in the game. The Cogwheel makes one marked triggerable fire all other marked triggerables once per chain, so a single coil shot can cascade.
Layout: Coil on one side, electric items in a column, Cogwheel touching both. Count your marked electric items before every purchase; an odd count turns off the bounce bonus.
Weakness: Single-target bosses. The chain is built for packs. Against a boss, the damage is steady but not bursty; bring a second weapon or a crossbow for the boss stage.
3. Burn Zone — the percentage killer
Core: Flamethrower, a rooting or slowing effect, and duration.
The Flamethrower leaves fires that deal a percentage of enemy health per second and apply Burn. Against elites and bosses with large health pools, percentage damage beats flat damage. Trap Seeds (Bushy) root enemies in place; any slow effect does the same job.
Layout: Flamethrower with a wide footprint, a root item adjacent, and sustain in the far column. The fire does the work; you survive.
Weakness: Fast enemies that leave the puddle. The Yodler and the Vacationeer both move out of fire. Pair with a pull, a knockback, or a corridor map such as the Canyon.
4. Crossbow Trigger — the proc engine
Core: Crossbow, two or more on-hit trigger items, and a Cogwheel.
Crossbow bolts stick in enemies and repeat on-hit effects when triggered. That turns every trigger item into a delayed payload. With a Cogwheel chaining triggers, a single bolt can fire the whole support grid.
Layout: Crossbow plus triggers in a line, Cogwheel at the end. This build cares more about trigger count than raw damage; a low-damage trigger with a useful effect is better than a high-damage one with none.
Weakness: Setup time. The bolts must land and the triggers must be marked. Against a boss that moves constantly, you need a slow or a root to keep the payload in place.
5. Vampire Melee — the self-sustaining run
Core: The Vampire's bats, attack speed, and life steal.
The Vampire starts with no weapon, only a handful of bats. Every level-up adds another bat, and the bats deal melee damage and can life-steal. The build is unusual because your damage grows with levels, not with weapon drops. Attack speed and melee damage multipliers are the priority; range is irrelevant.
Layout: Bats occupy the centre; support items that add attack speed or life steal touch them. Leave room for the level-up bats, because the swarm grows every level.
Weakness: Ranged enemies and the early game. Until the swarm is large, the Vampire is fragile. Play safe for the first two days and let the levels compound.
The game gives you a weapon and a few support items before the first merchant. Let those drops choose the build. Forcing a crit build with no Eye, or a Tesla build with no Coil, is how a run stalls in the second biome.
Builds for co-op
In co-op, split the roles: one player runs a carry (Crit Eye or Crossbow), the other runs the enabler grid (Tesla Chain support, roots, healing). Put the multipliers on the seam between the two backpacks so they reach both weapons. The co-op guide has the layout detail.
Builds to avoid
- Two carry weapons with no multipliers. Twice the ammo, half the damage.
- Full defence with no scaling. You will survive the first biome and lose to the boss timer.
- A legendary in the stash. If it does not fit the grid, it is not in the build.
FAQ
What is the strongest build? Crit Eye has the highest single-target ceiling; Tesla Chain has the smoothest clear. Both need the right drops. The Crossbow build has the highest ceiling with a full trigger grid but the slowest setup.
Do builds work in Endless Mode? Percentage damage and crit scaling hold up best. Flat-damage builds fall off when enemy health outpaces your weapon.
Can I switch builds mid-run? Yes, but the grid punishes half-measures. Sell or banish the old core before committing to a new one.
Related
More Deadly Days: Roadtrip Guides
Every confirmed Deadly Days: Roadtrip survivor, their signature item, playstyle and unlock route, from the Vampire to the Carver and the secret Reaper.
How Deadly Days: Roadtrip co-op works: couch split-screen, Remote Play Together, controller needs, cross-backpack synergies and shared-run roles.
Deadly Days: Roadtrip codes checked for the 1.0 build: how to redeem, which strings are confirmed, which are community reports, and the scams to avoid.
How crafting works in Deadly Days: Roadtrip: duplicate merging, confirmed recipes, the five craft-only 1.0 weapons, and when to hammer an item.
What duct tape unlocks in Deadly Days: Roadtrip, the reliable sources (bosses, reaper, achievements), and the order worth spending it in.
The extraction decision in Deadly Days: Roadtrip: reading the fuel gauge, threat level, dusk timing, reaper risk, and the math of one more crate.
A working list of Deadly Days: Roadtrip items: support, trigger, mobility, sustain, cursed merchant goods and character items, with what each one does.
How legendary loot works in Deadly Days: Roadtrip: rarity, merging, glowing crates, the radar, boss drops, and the fastest ways to farm high-rarity gear.