
Every Deadly Days: Roadtrip boss explained: Franky, Ballerina, Dumpling, Blob Ball, Mr. Kyde, Laz and the HQ CEO, with phase tells and build counters.
Deadly Days Roadtrip Bosses: Patterns and Counters
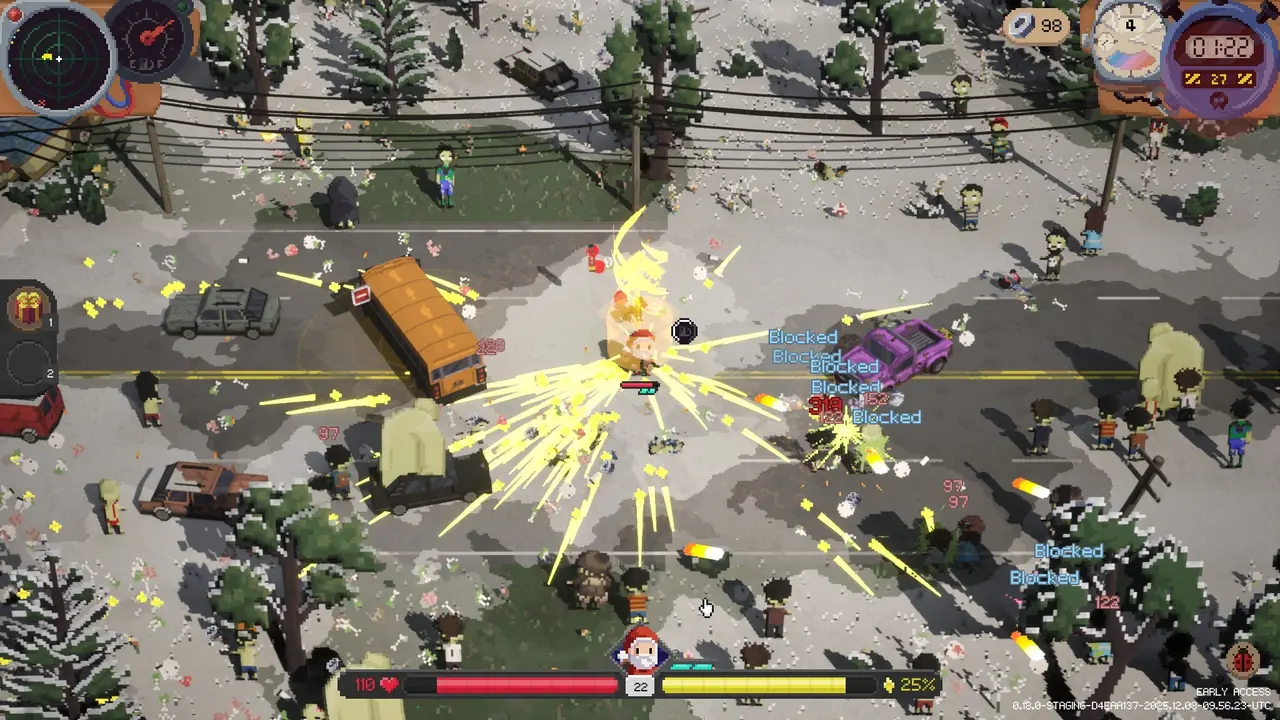
Bosses in Deadly Days: Roadtrip are not damage sponges with one attack. Each one changes the arena, and the 1.0 build added intro screens and a defeat summary so you can see what killed you. This guide covers the confirmed bosses, the tell that matters in each fight, and the build that turns the fight from a coin flip into a plan.
Official source: Deadly Days: Roadtrip 1.0 notes
More sources: Pixelsplit — Deadly Days: Roadtrip and Steam news hub.
How boss fights work
A boss closes the stage. The arena usually has adds, hazards, or both, and the boss gains a new pattern at a health threshold. Three universal rules:
- Save one dash for the phase transition. Most wipes happen in the two seconds after the boss changes phase.
- Do not stand in the corner. Charges, jumps, and expanding hazards all punish a corner.
- Damage over time keeps working while you move. Apply burn, bleed, or poison before you reposition.
Bosses also drop duct tape, with a bonus at MKing Response Level 3 (+1) and level 5 (+2). That is why late-run bosses are worth fighting even when the loot is mediocre.
Franky
Tell: a wind-up before a tackle. Pattern: Franky charges across the arena. The charge is fast, but the wind-up is long enough to sidestep if you are not cornered. Counter: fight near the centre, bait the charge, and move perpendicular to it rather than away. A build with a dash can dodge late; a build without one should start moving on the wind-up. Build note: single-target burst is fine here. Area damage is wasted on a boss with few adds.
Ballerina
Tell: a spin-up and a music cue. The 1.0 build gave her a dedicated track. Pattern: a spiraling attack that covers the arena, plus bombs in the first phase. The spiral leaves safe lanes that rotate, so standing still is fatal. Counter: move with the lane, not against it. Keep a dash for the bomb overlap. Ranged builds have an easier time because they can keep firing while circling. Build note: movement speed and dash distance are the real defensive stats. Burn is strong because she stays in the arena.
Dumpling
Tell: the boss subdivides. Pattern: Dumpling splits into smaller bodies and leaves puddles. The puddles deny space and punish a player who kites in a straight line. Counter: clear the small bodies before they surround you, and keep the puddle field behind you rather than around you. Area damage is the answer. Build note: Tesla Chain and Flamethrower both shine. A pure single-target build gets overwhelmed by the subdivisions.
Blob Ball
Tell: body parts detach and jump. Pattern: Blob Ball throws pieces of itself and jumps across the arena. The jumps are the threat; the pieces are the distraction. Counter: watch the boss's body, not the adds. Move on the jump wind-up and use the landing window to deal damage. Build note: burst windows matter more than sustained DPS. Mega Shotgun and Desert Eagle are good; slow ramping builds struggle.
Mr. Kyde
Tell: the briefcase opens. Pattern: the store manager throws bombs from his briefcase, and when damaged he sheds his suit and begins to pirouette. The phase change is the dangerous part: the pirouette adds a movement pattern on top of the bombs. Counter: keep the briefcase in view, and save a dash for the suit-shed transition. Do not chase him during the pirouette; let him come to you. Build note: ranged builds with a snare are ideal. Melee builds need the Ghost Sheet or a strong heal.
Laz
Tell: the robot army activates. Pattern: Laz is the fifth final boss, added in 1.0. He is the son of an MKing franchise owner, a former freelance IT technician who built an army from stolen restaurant cleaning robots and then mutated. The fight combines adds with a boss that does not stay still. Counter: clear the adds during the boss's movement phases, then burst during the stationary window. Do not try to out-sustain the robot army; kill it. Build note: the Crossbow trigger build is the cleanest answer because the stuck bolts keep working while you handle adds.
The HQ CEO
Tell: the final arena, multi-stage. Pattern: the Headquarter Run ends with the CEO. The assault is multi-stage — parking lot, bridge, research — and the CEO is the last gate before the bomb. Expect a phase change and arena hazards. Counter: arrive with a finished build and full sustain. This is not a fight to start with a half-empty backpack. The extraction guide explains why you fill the gauge before the boss, not after. Build note: percentage damage and crit scaling hold up best. Flat-damage builds fall off against the CEO's health pool.
The 1.0 build added a boss-defeat summary screen. It tells you what killed you, which is more useful than a damage number. If the same attack appears twice, that is the pattern to practise.
Boss order and preparation
The route determines which bosses you meet, but the preparation is constant:
- Before the fight: fill the fuel gauge, clear the adds around the arena, and check your dash.
- During the fight: apply damage over time, keep the centre, and save the dash for the phase change.
- After the fight: take the duct tape, check the drop, and do not loot the arena until the adds are dead.
If you are farming tape, response level 3 is the sweet spot: the first tape bonus without the level-6 difficulty spike. The duct tape guide has the full loop.
FAQ
Which boss is hardest? Laz and the CEO have the highest execution demand. Mr. Kyde is the hardest mid-run fight because the phase change adds a movement pattern on top of the bombs.
Can I skip a boss? No. The boss closes the stage.
Do bosses scale with co-op? Yes, health and adds scale. Two players also bring two backpacks, which is usually the bigger advantage.
Is there a final boss after the CEO? The CEO is the HQ finale in the current build. The campaign ends with the HQ destruction.
Related
More Deadly Days: Roadtrip Guides
Deadly Days: Roadtrip codes checked for the 1.0 build: how to redeem, which strings are confirmed, which are community reports, and the scams to avoid.
How crafting works in Deadly Days: Roadtrip: duplicate merging, confirmed recipes, the five craft-only 1.0 weapons, and when to hammer an item.
What duct tape unlocks in Deadly Days: Roadtrip, the reliable sources (bosses, reaper, achievements), and the order worth spending it in.
How Endless Mode scales in Deadly Days: Roadtrip, which builds survive the curve, and the item priorities that stop a finished run from falling over.
The extraction decision in Deadly Days: Roadtrip: reading the fuel gauge, threat level, dusk timing, reaper risk, and the math of one more crate.
A working list of Deadly Days: Roadtrip items: support, trigger, mobility, sustain, cursed merchant goods and character items, with what each one does.
How legendary loot works in Deadly Days: Roadtrip: rarity, merging, glowing crates, the radar, boss drops, and the fastest ways to farm high-rarity gear.
Every Deadly Days: Roadtrip map system explained: biome enemies, fuel icons, shops, event stops, Labyrinth, Pumpkin Patch, and route planning.